Edibles are one of our favorite cannabis consumption methods here at Greeley Gallery. We’re simply obsessed with the countless ways to personalize them for every craving. Purchasing pre-made, high-quality cannabis edibles is safe, easy, and convenient. However, making your own edibles can be a fun way to spend an afternoon.
Doing it yourself (DIY) also lets you get creative when choosing which kind of edibles to make. You might begin with a classic like pot-infused brownies or something more adventurous like pot-infused pizza. Whichever you decide, there’s one step you’ll need to learn before your edibles will achieve the desired effect. It’s called decarboxylation, and we’ll tell you how to do it.
What Does Decarboxylating Weed Mean?
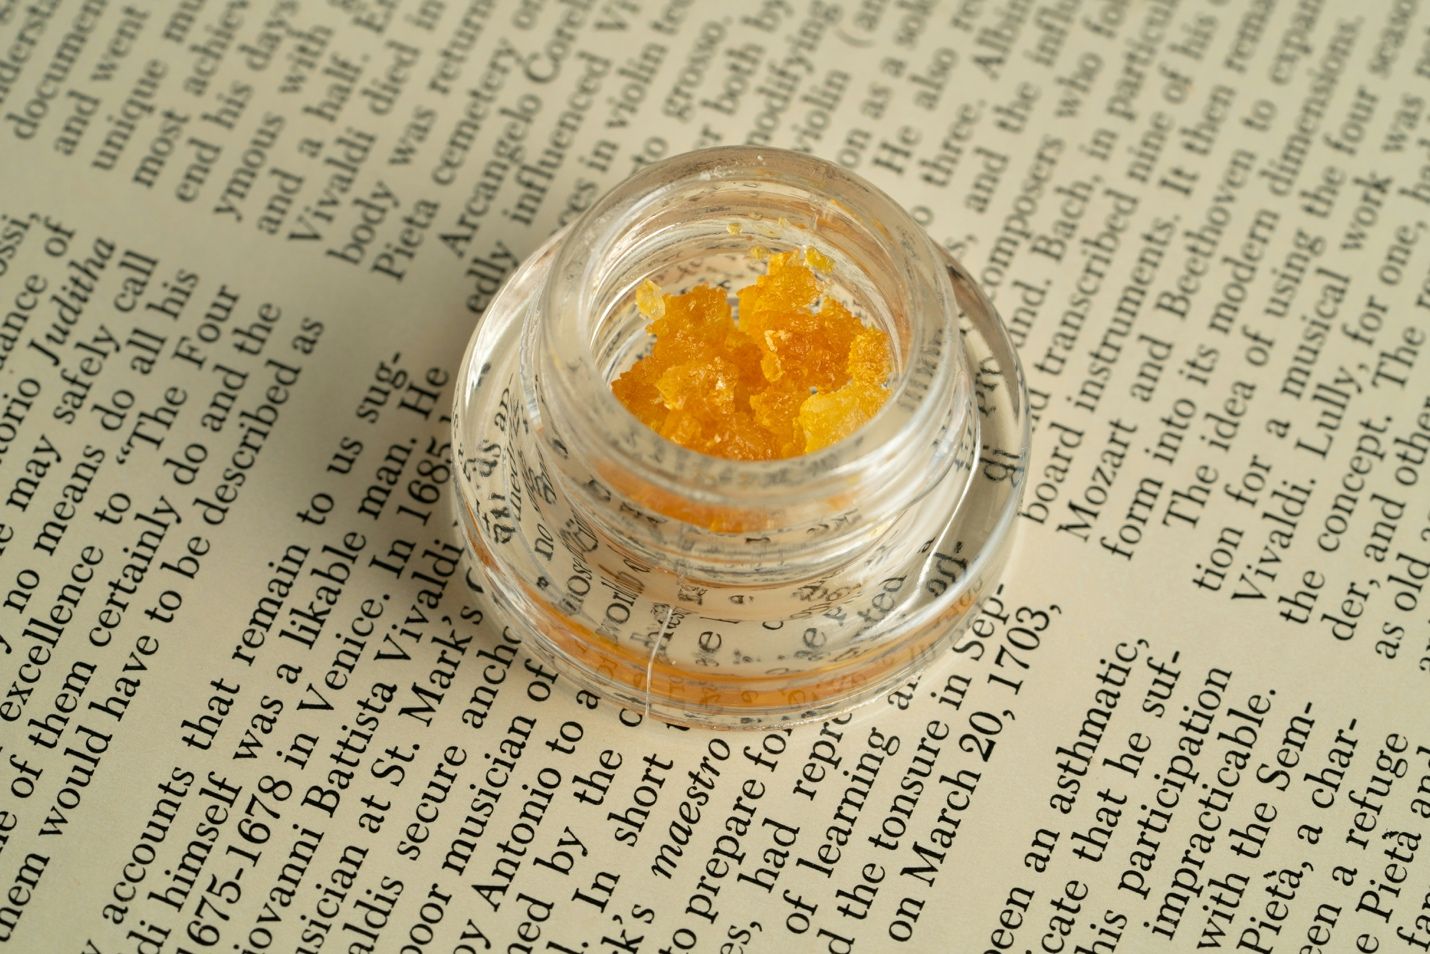
If you want to smoke dried cannabis, whether using a bong or a joint, you have to ignite it using fire first. This is because heat is required to activate the psychoactive compounds within cannabis. The cannabis plant possesses a compound called THCA, which will not get you high on its own. But exposing THCA to heat will convert it into THC, which processes the psychoactive effects weed is so famous for.
This process is called decarboxylation (pronounced de-carb-ox-yl-a-tion or decarb for short), and there are a few ways to do it. As mentioned, when smoking cannabis flower, a lighter or match works. Vaporizers use atomizers, and torches are most commonly used for dab rigs, but when making your own edibles, it’s the over you want for as your heat source.
How to Decarboxylate Your Weed for Edibles
First, let us begin by saying the oven allows for a steady temperature rise, but the gauge isn’t exact; oven temps tend to fluctuate by around 20 degrees. So, you’ll want to keep an eye on your weed throughout the process.
Secondly, you’ll need some materials. Specifically, a baking sheet, parchment paper or aluminum foil, your desired cannabis, and of course, an oven. Having a grinder is useful too, but not required.
Third, follow the following steps:
Set the oven temperature to 245 °F and place the rack in the middle.
Line the baking sheet with either aluminum foil or parchment paper.
Break up your cannabis flower using your hands, or a grinder if you have one, into smaller pieces and scatter them on the baking sheet. You want the cannabis to be small but not too fine. Otherwise, it may result in burning.
Heat for 30 – 40 minutes. Be sure to keep an eye and stir the cannabis around at least once.
Remove the baking sheet from the oven and allow the cannabis to cool at room temp for about 30 minutes. The cannabis should now be lightly toasted with a golden-brown coloring.
Once the baked cannabis is cool enough to handle, it’s ready to be used in your DIY edibles or stored for the future.
That’s it! Congratulations, you’re officially ready to add your decarbed cannabis into any edible recipe your heart desires.
Final Thoughts
For best results, stop by Greeley Gallery’s cannabis dispensary in North Portland where you’ll find high quality, locally grown, dried cannabis flower to make your DIY edibles even better. We encourage you to be safe and have fun being creative while decarbing your weed and choosing which edibles to enjoy this summer.
Though if you want a sweet cannabis infused treat without turning on your oven this summer, you can always stop into Greeley Gallery. In addition to high quality cannabis flower, you’ll find an assortment of fruity gummies, delicious cookies, not to mention delightful chocolates to enjoy right away.
Katrina Paulson