Finally! We’ve waited all year, and now the Holidays are here! A time of reflection, spending time with loved ones, and getting ready to begin a new year – what’s not to celebrate? In addition to joyous laughter and love, we treasure the small things most. Like baking and decorating holiday-themed sugar cookies and sipping on hot chocolate with music in the background.
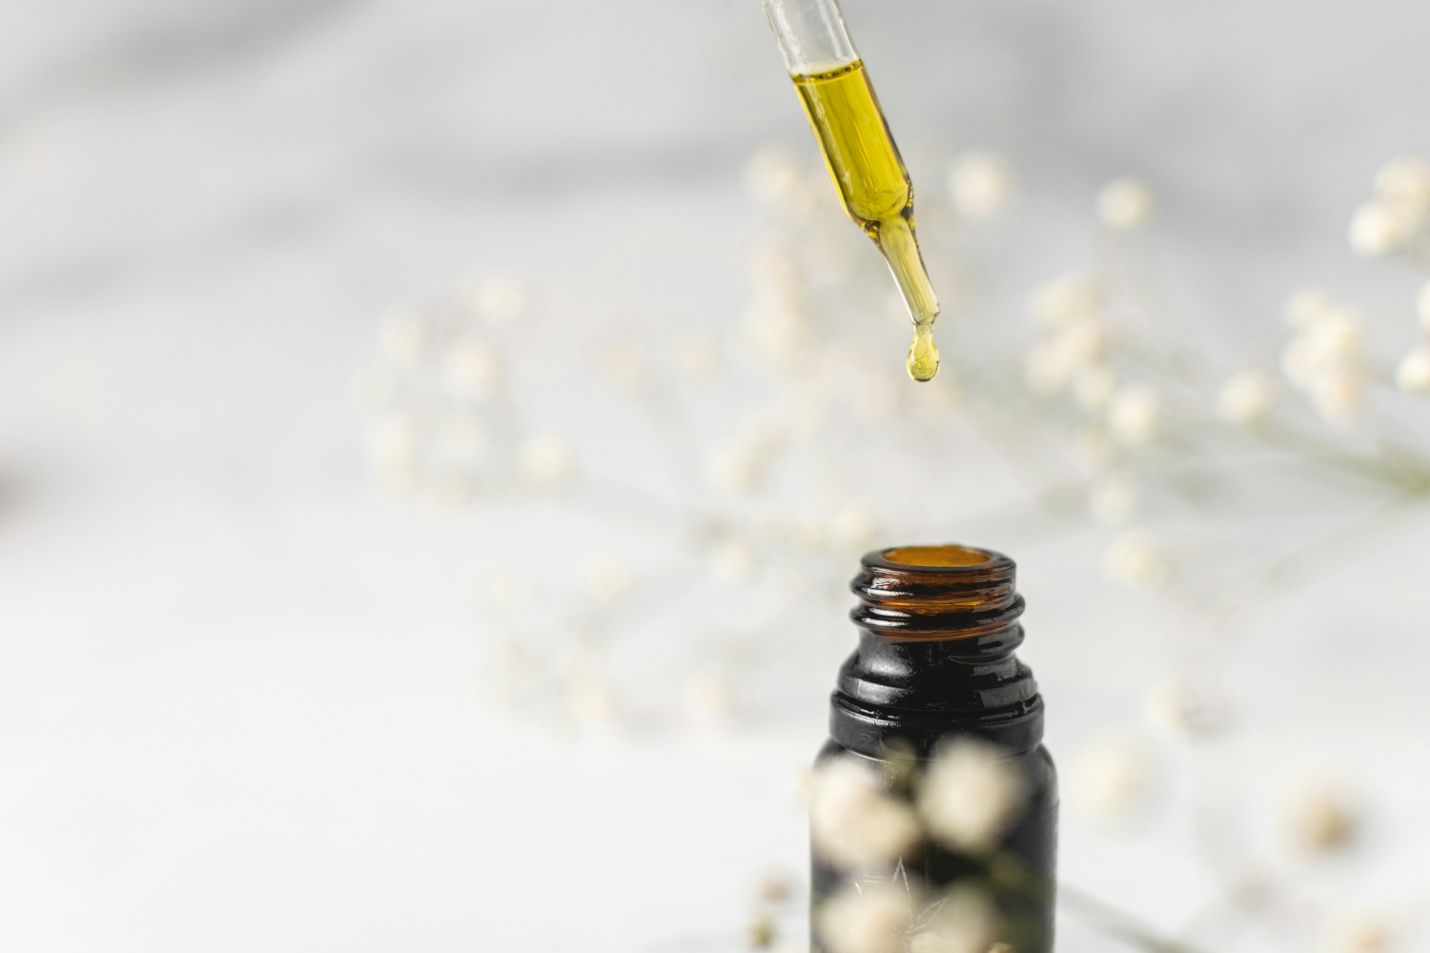
The only way to make such an experience better is to use cannabis-infused butter to make the cookies, share them with your adult friends and watch one of your favorite holiday movies together. So, allow us here at Greeley Gallery to share our favorite way to make cannabutter so you can make this experience come true – because making cannabutter is more than mixing weed with butter.
Step One – Decarboxylate Your Weed
The first thing you need to do before diving into cookie recipes is to decarboxylate your weed. See, cannabis requires heat to activate the psychoactive compounds within it. Specifically, when it comes to tetrahydrocannabinol (THC) which is responsible for the high cannabis is known to produce, and cannabidiol (CBD) which doesn’t get you high but is highly medicinal.
So just follow these simple instructions to decarb your cannabis, and the fun begins!
Preheat your over to 245°
While waiting for the oven, line a baking sheet with aluminum foil or parchment paper.
Using your fingers or a grinder, break up your dried cannabis flower into small pieces and scatter them across the lined baking sheet. Pro tip: keep the cannabis pieces small but not too fine to avoid burning.
After the oven is heated, place the lined baking sheet with your cannabis on the middle rack and bake for 30 to 40 minutes. Be sure to stir it at least once while baking to avoid burning.
Once your cannabis is toasted with a light golden-brown coloring, pull the baking sheet out and let it cool for about 30 minutes.
That’s it! Now your cannabis is activated and ready to move on to the next step for making cannabutter.
Step Two – Bring on the Butter
Now you want to combine your newly decarbed cannabis with butter but don’t just haphazardly toss them together. The best ratio is about four sticks of butter for every ounce of marijuana. So, if you baked half an ounce of weed, you’ll use 2 sticks of butter.
Then bring 4 cups of water to a boil on the stovetop in a medium-sized saucepan, add your butter and let it melt completely.
Step Three – Combine Decarbed Cannabis with Butter
After the butter and water are sufficiently mixed and melted, it’s time to reduce the heat and sprinkle in your weed. To prevent burning the cannabis, keep the stovetop at barely a simmer. This is the easiest but most time-consuming part because you’ll need to allow it to simmer for about three hours.
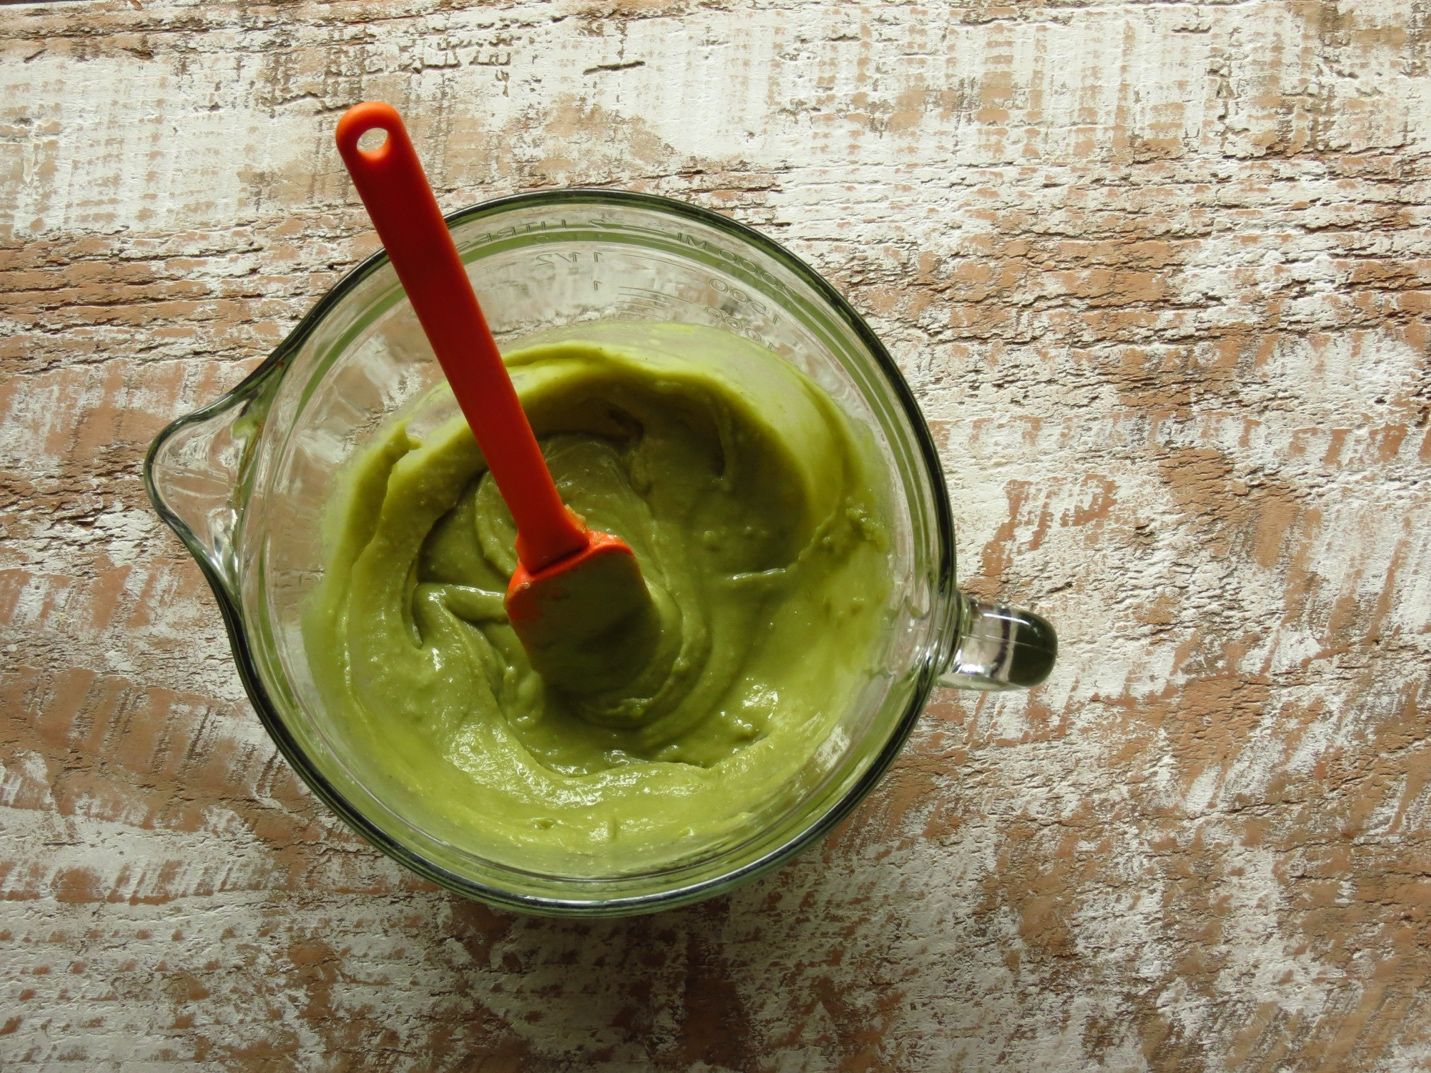
This process allows excess water to evaporate, and as time ticks on, you’ll see the top layer of the mixture turn from watery to shiny and thick. Once it reaches this point, you’ll know it’s done, and you can remove it from the heat.
Step Four – Strain
If you want, you can prepare for this step while waiting for the previous step to finish. All this step requires is a sturdy bowl and a cheesecloth. Be sure to choose one that can handle heat and is large enough to accommodate the whole mixture. You can buy a cheesecloth at most grocery stores in the kitchen supply section, but if you don’t have one, you can also use a thin kitchen towel, coffee filter, pantyhose, or another porous but sturdy fabric.
Secure the cloth around the top of the bowl and ensure its taunt, so it doesn’t collapse into the mixture. We prefer tying a string around the bowl’s rim or using a rubber band if there’s one large enough.
Then slowly pour the butter/weed mixture over the cloth and allow it to strain. Seeing as the mixture is still hot, be sure to wear oven mitts to protect your hands. Everything that seeps through the cloth is what you’ll use later, whereas the remains on the topside of the fabric can be discarded.
After you’ve poured all the mixture, pick up the cloth by its four corners to create a small pouch with the excess cannabis inside and squeeze every ounce of cannabutter from it.
Step Five – Finishing Touches
Refrigerate your mixture so your cannabutter can solidify. This requires more waiting, but at least it’s the last time! Hopefully, it’ll only take about an hour – or the length of one or two of your favorite shows – and then you’re ready for the next (and last) step.
Once your cannabutter is solid, take a knife around the edge of your bowl to loosen it, then gently lift the block from the bowl and onto a cutting board. Scrap off, or dab away, any excess water, and then congratulations! You’re done!
Word to the Wise
While you may be excited to try homemade edibles using your freshly made cannabutter, please be safe. Remember that edible effects can take two hours or more to present, so be cautious about consuming more if you don’t feel anything at first.
We’re sure they’re delicious, but you should go slow. DIY edible dosages will vary, so it’s best to begin with a smaller amount first, then eat a little more every time until you know how potent they are.
Final Thoughts
Replacing your newly crafted cannabutter with typical butter turns any homemade baked good into an edible. Our favorite, here at Greeley Gallery, are holiday-themed sugar cookies – which are made even more fun when you decorate them with friends while stoned with holiday music playing in the background!
Stop into our recreational and medicinal cannabis dispensary in north Portland any day between 7am and 10pm. You can trust that our cannabis at Greeley Gallery is only the highest-quality and locally grown cannabis flower, which means your cannabutter will be top-notch!
Written By: Katrina Paulson