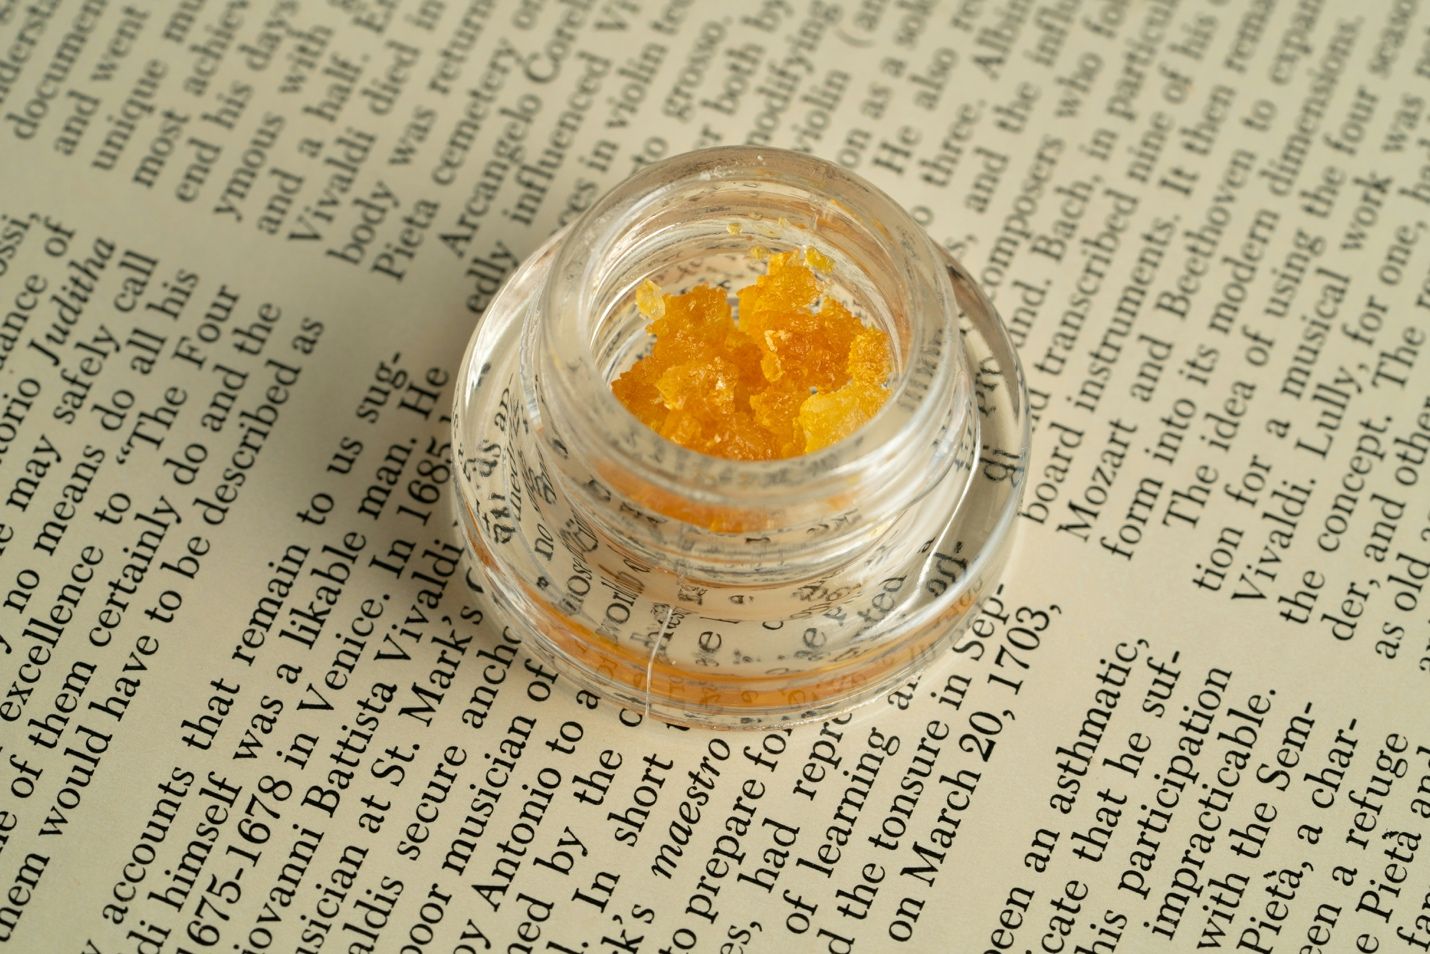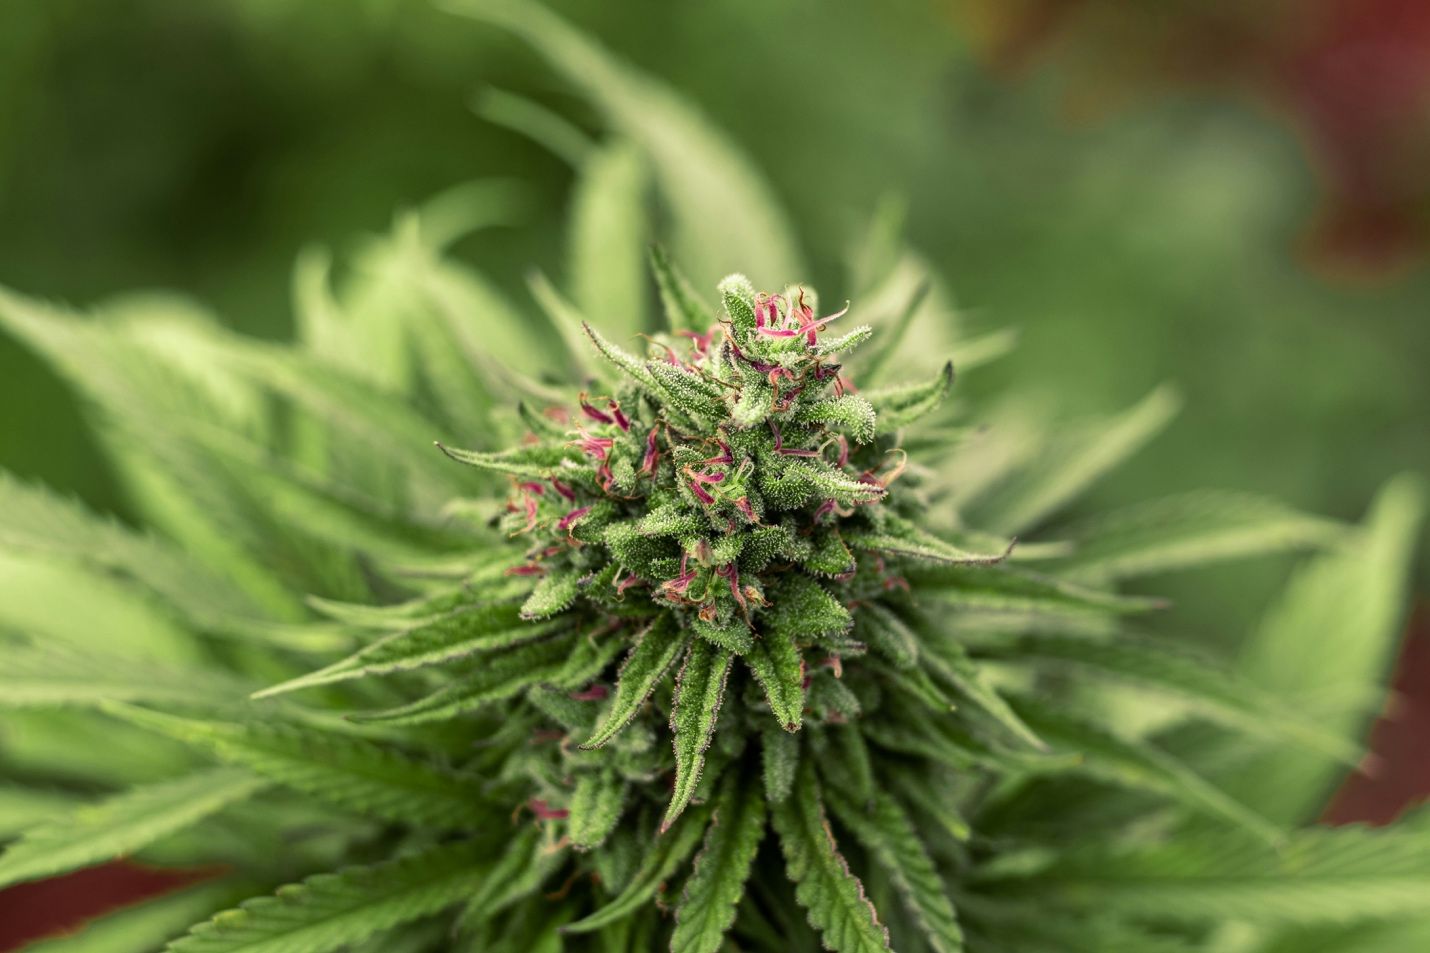
When it comes to consuming cannabis, there are several methods to choose from. Greeley Gallery’s marijuana dispensary near University Park sells everything from edibles and infused drinks to pipes, and of course, high-quality cannabis flower. Even with a growing number of options, smoking marijuana is still the most common preferred method. There’s something about smoking cannabis, especially joints, that feels old-school and desirable compared to consuming it any other way.
If you’re someone who has tried rolling your joints instead of buying them, you may have discovered that rolling a great joint is more complicated than it seems—at least at first. This is why we’ve decided to share our secrets for rolling the perfect joint. Take a gander, then practice it yourself, and before you know it, your friends will be asking you to teach them how, too!
1. Break Up Your Cannabis
You’re going to have a hard time rolling a joint without breaking it up. Technically you can break larger buds into smaller ones using your hands, except you end up with sticky fingers. Instead, we suggest investing in a suitable grinder. They come in various sizes and make breaking up cannabis much more manageable and cleaner. You want your cannabis to be small particles but not dust. The point of grinding the weed is to release its rich aroma and allow optimal airflow and consistent burn rate.
2. Create Your Crutch
In addition to grinding up your marijuana flower, creating your crutch is the second easiest step to rolling your perfect joint. Essentially, a crutch is the part of a joint that keeps the rolling paper from collapsing while you inhale. But it also keeps your fingers from burning near the end, prevents any bud from falling out, and maintains the structure of your joint.
You can make crutches out of just about anything, paper, cardboard, a torn-off strip of a business card. The paper just needs to be strong enough to allow the smoke to exit the joint while you inhale.
Just tear off a small piece about a centimeter and a half long and about as wide as a fingernail and simply roll it into a cylinder. Then set it aside for later.
3. Fill Your Rolling Paper
There are all kinds of rolling paper on the market these days, and you can buy some just about anywhere. Of course, that includes Greeley Gallery. It doesn’t matter much which one you choose, as long as it’s for smoking and isn’t a piece of computer paper or something.
Upon close inspection of your rolling paper, you’ll find there’s a bit of glue along one long edge. Rotate your paper until the glue is face down and then crease. Fold the paper gently in the opposite way of the fold line down the middle until it keeps the shape you need.
Next, take the cannabis flower you ground earlier and distribute it evenly while leaving a bit of space at both ends. If you’re new to joint rolling, and if you’re reading this, then we assume you are, it’ll be easier to roll a straight joint vs. a cone-shaped one your first few times.
4. Roll Your Joint
Rolling is tricky, and it takes practice so don’t feel bad if you struggle at first.
Pick up the rolling paper with both hands and begin gently rolling it between your fingers. You don’t need to roll it all the way yet. Right now, just focus on slowly moving your friends from right to left and back, so your weed is more evenly distributed.
Next, insert your crutch from earlier into one of the ends. While keeping some fingers near the filter, begin rolling. You do this by rolling the paper back and forth to ensure nothing falls out—though don’t stress if some does, you can add it back in at the end.
If adding the crutch whilst rolling the joint is too difficult at first, you can hold off until after you roll before adding it to the end.
5. Lick and Seal
Remember the edge of the paper with the glue we mentioned earlier? This is where that part comes back into play. Once you have your joint shaped to your desire and rolled all the way, it’s time to lick and seal your joint.
6. Pack it in
The hard part is over! Now you want to tighten it up. Grab a pen or something else small and cylindrical that you can use. One side of your joint should have your crutch, stick your pen into the other end and gently pack the cannabis. This is also when you can add back any rogue flower that fell out during the rolling process.
7. Twist the end, enjoy or store away for later
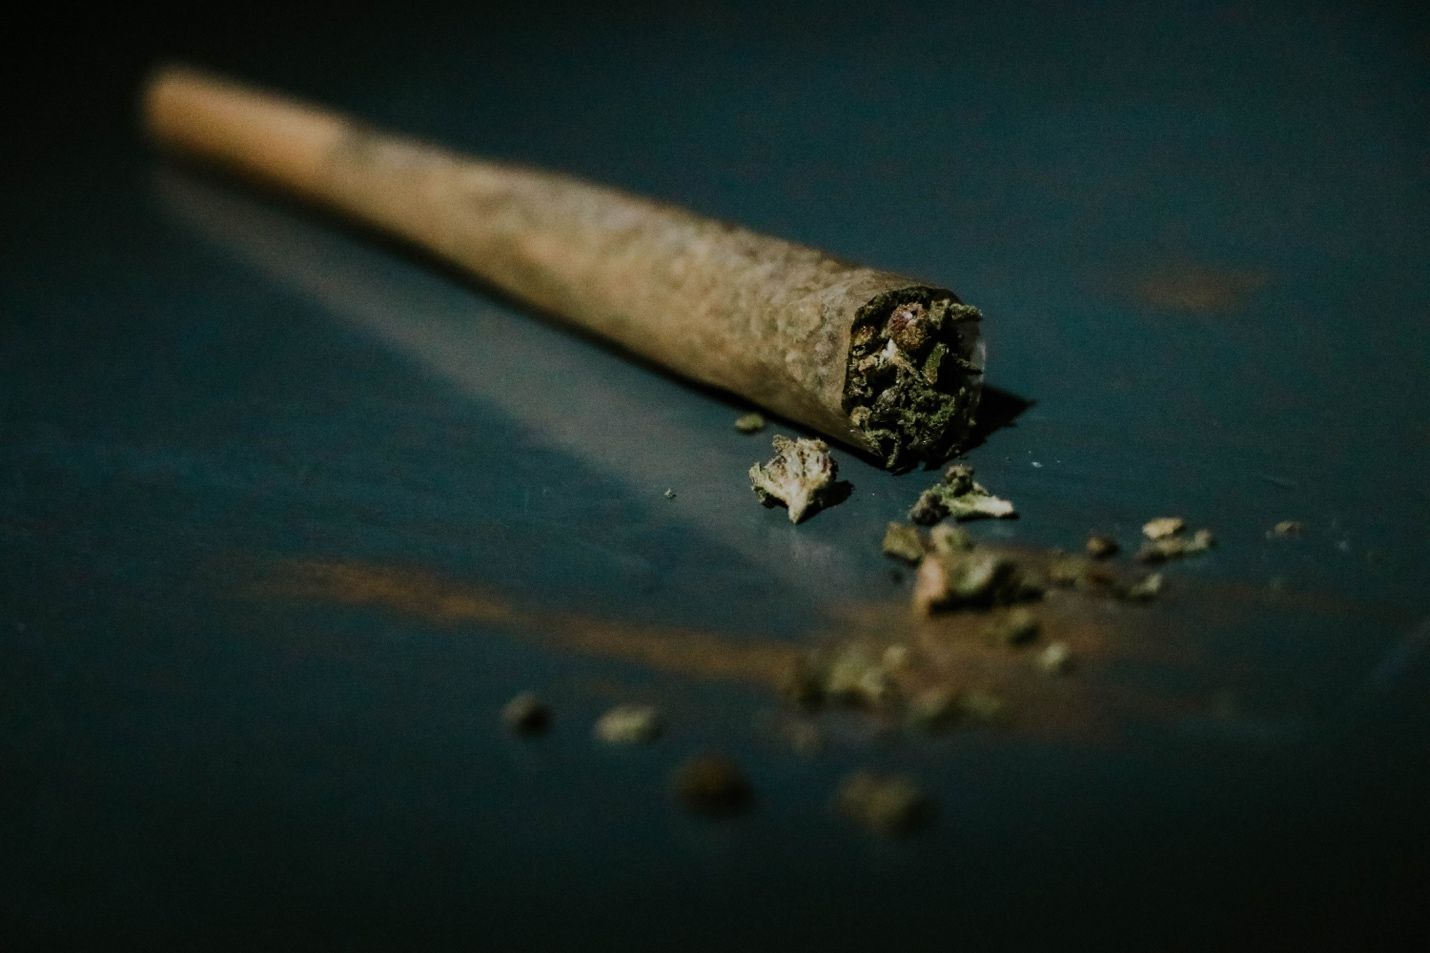
The last step is arguably the easiest. Simply twist the opening of your joint closed. Now you should have one end of your joint with your crutch, and the other is twisted. Your joint should be pretty secured, and now you face a decision. Either light up now and reap the benefits of your hard work or store it safely away for later.
Final Thoughts
There you have it! But remember, practice makes perfect. It’s okay if you don’t have it down pat the first few times you try. But the more you try, the easier it becomes, and soon you’ll be a pro!
If you need any extra help, feel free to ask our staff! We always enjoy chatting with our customers and communities in ensuring you have the best experience possible. Our north Portland cannabis dispensary prides itself on providing only a quality product and passion for sharing our knowledge. We hope you liked this post! Check out our other blogs for more helpful tips.