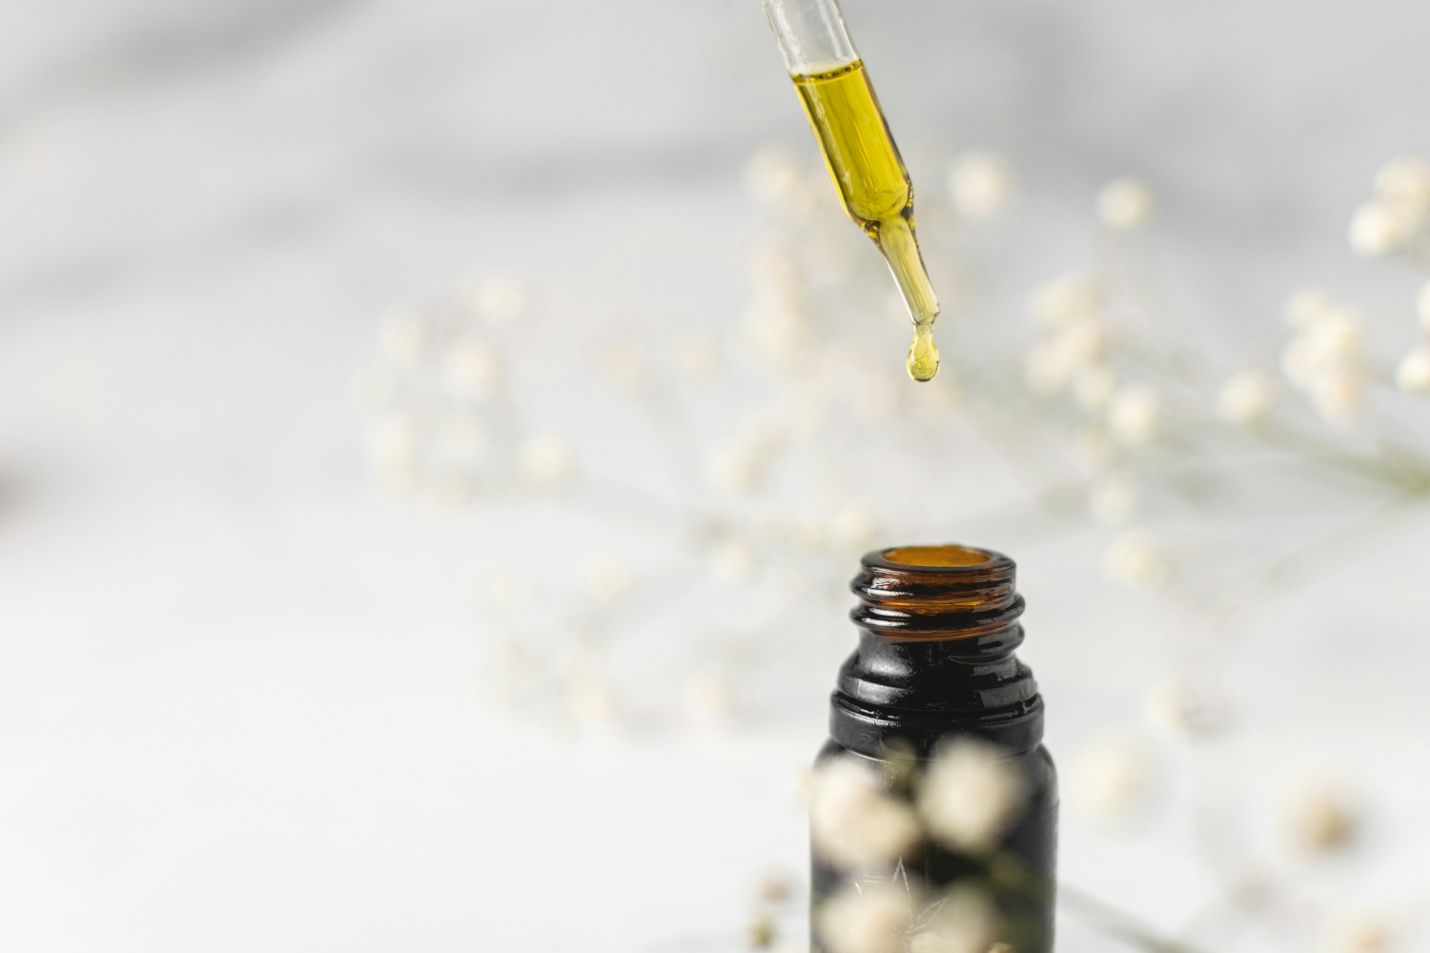
There’s something intently satisfying about summertime snacking, and there are so many delicious summer treats. The only way to make snacking better this time of year is by elevating it with cannabis. At Greeley Gallery, our north Portland cannabis dispensary, you’ll find several pre-made delectable cannabis edible options. But, we also know that sometimes, it’s fun to make your own edibles at home.
DIY edibles allow for untapped creativity and endless options, but it’s not as easy as including some dried cannabis flower into your recipe. Before you get going, there’s one vital step you have to complete first, which is to decarb your weed. Otherwise, whatever you make won’t produce the effects you’re probably hoping for. Luckily, with our simple three-step instructions, you can decarb your marijuana in no time.
Why Decarbing Your Weed is Required to Make Edibles
Most people consume edibles to feel the psychoactive high weed is known for, which is produced by the cannabis compound tetrahydrocannabinol (THC). But THC in cannabis has to be chemically activated using heat to feel its effects. This means that simply eating raw cannabis flower won’t do anything; it’s also why smoking cannabis is so common – the heat from lighting the cannabis with a flame activates the cannabis compounds.
Items You’ll Need
You’ll want to gather a few things, before you begin.
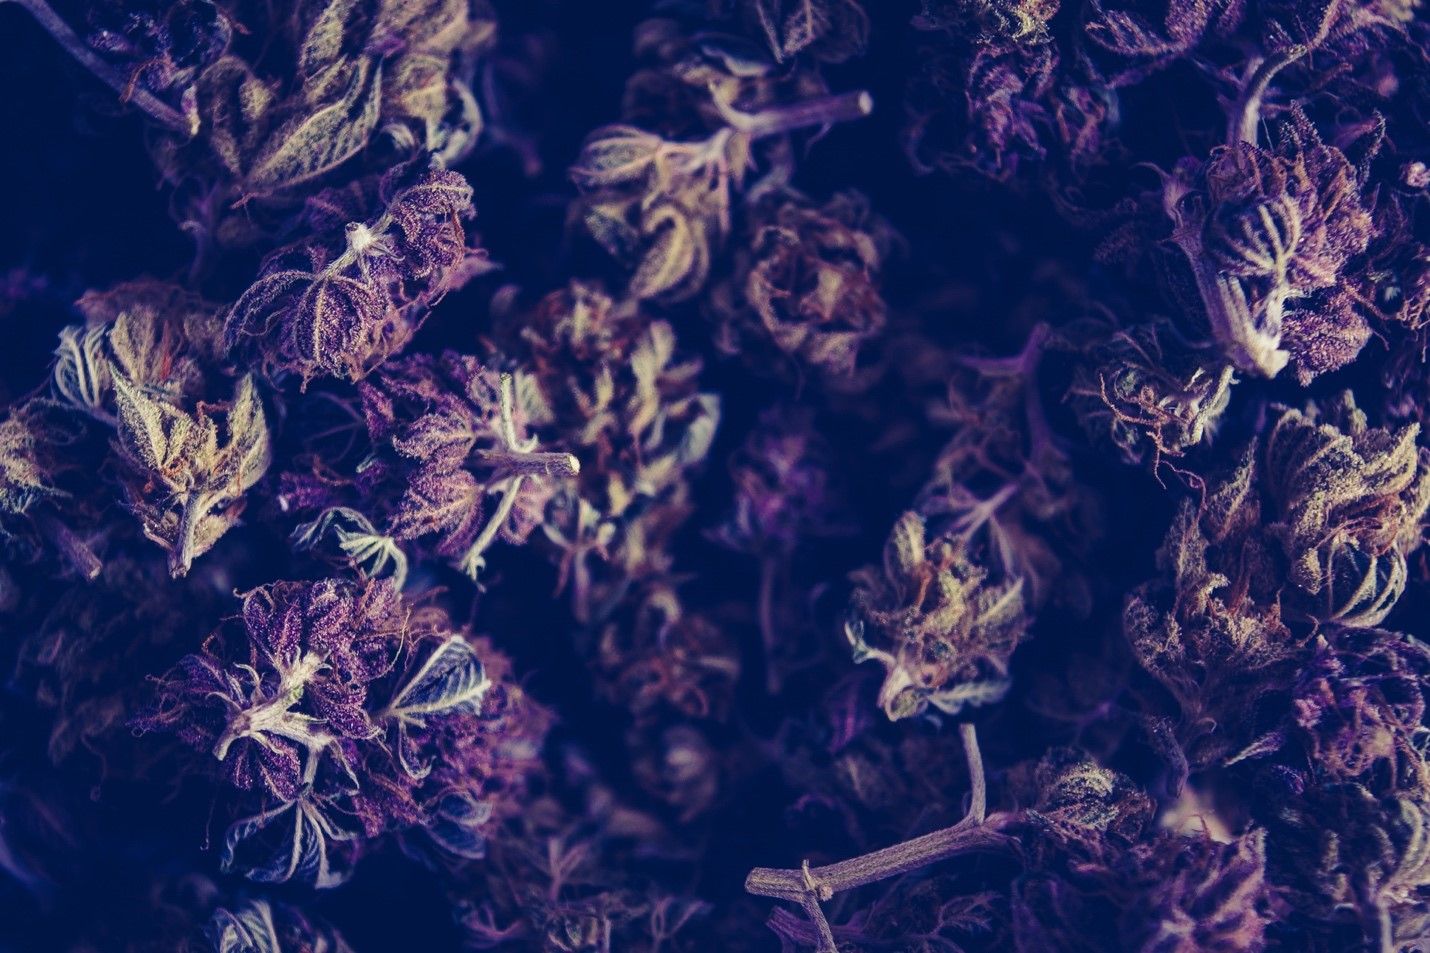
- Dried cannabis flower – take your pick from our wide variety of high quality and locally grown cannabis strains at Greeley Gallery.
- Grinder — optional
- A baking sheet – like one you’d use to make cookies.
- Parchment Paper
- An oven
That’s it! You’re ready.
Step One
First, preheat your oven to 250 degrees.
While you wait, you can break up your dried cannabis buds either using a grinder or by hand if you’d rather, but don’t overdo it. The goal is to create small clumps rather than a finer consistency like you’d use in a joint because you don’t want the cannabis to burn in the oven later.
Step Two
Once you’ve broken up your large buds into smaller ones, it’s time to tear off a piece of parchment paper and lay it on the baking sheet. Then spread your ground cannabis across the paper.
Step Three
After your oven reaches 250 degrees, simply place your baking sheet with your cannabis on the middle rack, and let it bake for 20 minutes. You’ll know it’s ready to remove when the cannabis turns a lightly toasted-brown. That’s it! Now your cannabis is ready to be added to any edible recipe!
Pro Tip: move the cannabis around about halfway through to encourage it bakes evenly.
Final Thoughts
As always, we encourage safety first, so we want to remind you to be aware of your dosing. Higher-quality cannabis, as you’ll find at Greeley Gallery, can produce stronger effects, so if you have high-quality cannabis but a low tolerance, you may want to use less cannabis in your recipe.
Also, make sure to evenly distribute your decarbed cannabis. Otherwise, you may end up with some of your edibles having higher potencies while others have less – and you won’t be able to tell which is which until they’re eaten. We’d advise starting with about 5 mg of THC per dose and always recommend starting low and going slow as you build your tolerance.
Written By:
Katrina Paulson